How to Program Your Garage Door Remote: A Complete Guide by Franklin Garage Doors Services Pro
How to Program Your Garage Door Remote: A Complete Guide
Having a functioning garage door remote is essential for the convenience and security of your home. Whether you’ve recently purchased a new remote or need to reset your existing one, understanding how to program it is invaluable. In this guide, Franklin Garage Doors Services Pro will walk you through the steps to program your garage door remote, ensuring easy access to your garage in Franklin, MA, and beyond.
Why Programming Your Garage Door Remote Matters
Garage door remotes are not just about convenience; they play a significant role in the security and functionality of your home. Here’s why it’s important to keep your remote programmed correctly:
- Security: A properly programmed remote helps to prevent unauthorized access to your garage.
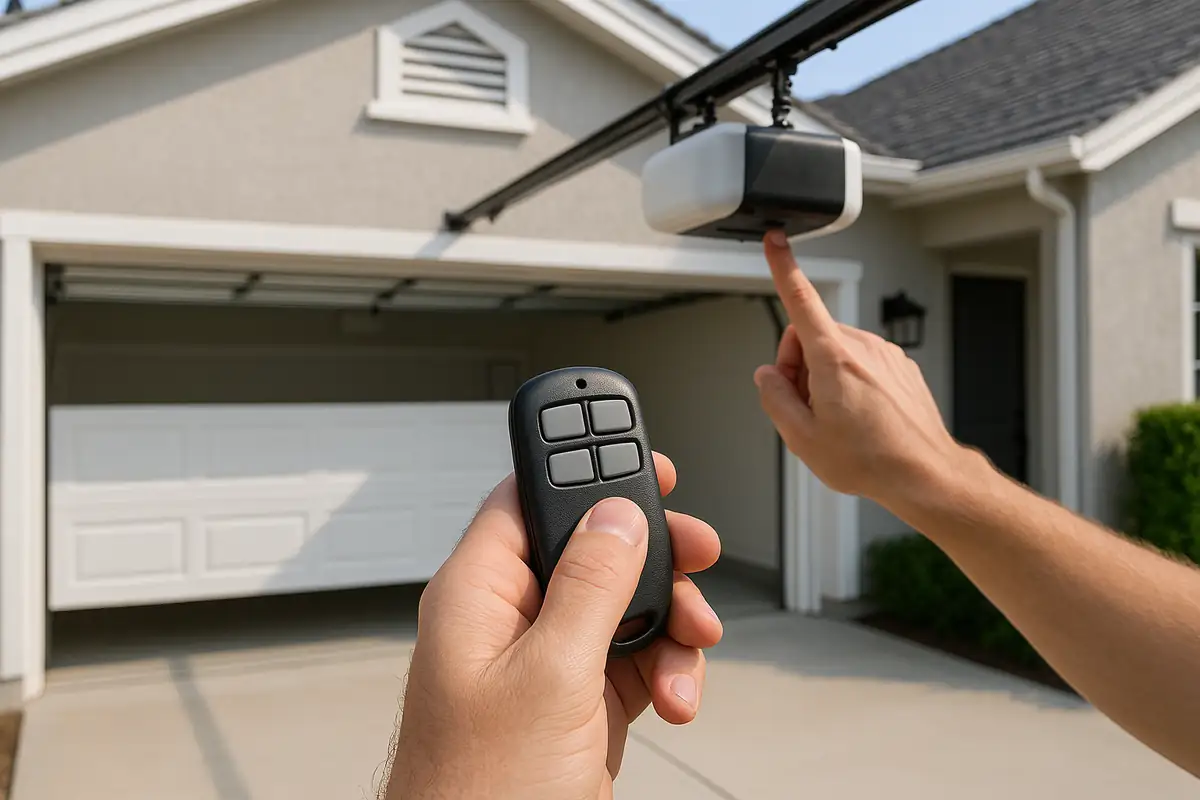
- Convenience: Easily access your garage without stepping out of your car—ideal for rainy days!
- Functionality: A malfunctioning remote can lead to frustration and might require costly repairs.
Step-by-Step Guide to Programming Your Garage Door Remote
Programming your garage door remote can vary slightly depending on the brand and model of your garage door opener. However, the general process is quite similar. Follow these steps below:
Step 1: Gather Your Tools
For most programming processes, you’ll need:
- Your garage door remote.
- Your garage door opener (make sure it’s plugged in and functioning).
- Instructions or manual (if available).
Step 2: Locate the Learn Button
The learn button is crucial for the programming process. Here’s how to find it:
- Open your garage door opener’s cover. This is usually located on the back or side of the motor unit.
- Look for a button labeled “Learn,” “Program,” or with a similar term. This button can often be found near the antenna wire.
Step 3: Erase Old Codes (If Necessary)
If you're programming a new remote or if you suspect your remote has been compromised, it’s a good idea to erase the old codes:
- Press and hold the learn button until the LED light turns off (this usually takes about 6 seconds).
- Release the button. This will erase all previously programmed remotes.
Step 4: Program Your New Remote
Now, you’re ready to program your remote:
- Press the learn button again. The LED light should turn on.
- Within 30 seconds, press and hold the button on your remote that you want to program.
- Release the button when the garage door opener light flashes or you hear two clicks. This indicates that the remote is programmed successfully.
Tips for Successful Programming
To ensure your programming is successful, consider the following:
- Ensure the remote has fresh batteries; weak batteries can hinder programming.
- Be within range of the garage door opener during the programming process.
- Follow the instructions specific to your garage door opener model.
Troubleshooting Common Issues
If you encounter issues while programming your garage door remote, try these troubleshooting tips:
Remote Not Responding
Check if the remote batteries are dead or improperly installed. Replace with new batteries and try again.
Garage Door Doesn’t Open
Ensure you are within range of the opener and that the learn button was pressed correctly. If problems persist, consult your manual or contact Franklin Garage Doors Services Pro for assistance.
Key Takeaways and Safety Reminders
Programming your garage door remote can be a straightforward task if done correctly. Here’s a quick recap:
- Gather all necessary tools before starting.
- Locate the learn button on your garage door opener.
- Follow the steps for successful programming.
- Be aware and proactive regarding your garage door’s security.
Conclusion
Programming your garage door remote is an essential task that can enhance your home’s security and convenience. Should you need assistance or if your garage door needs repairs, don’t hesitate to reach out to Franklin Garage Doors Services Pro. Our team of experts is here to help you ensure your garage door operates smoothly and securely.
Contact us today for any garage door concerns in Franklin, MA!
Explore More Resources
Related Articles
Service Areas
We proudly serve Franklin, Wrentham, Bellingham, Medway, Norfolk and more areas.
Our Services
Professional garage door repair, spring repair, opener installation and more. View all services →
Top 5 Garage Door Safety Tips Every Homeowner Should Know | Franklin Garage Doors Services Pro

Common Garage Door Problems and How to Fix Them - Franklin Garage Doors Services Pro